
Discovering milky oil on a dipstick can be concerning for any vehicle owner. This unusual appearance often indicates the presence of water or coolant mixing with the engine oil, which could lead to severe engine damage if left unresolved. However, understanding the underlying causes and taking prompt action can prevent costly repairs and ensure the continued performance of your vehicle. In this comprehensive guide, we’ll delve into the reasons behind the milky oil issue and provide actionable steps to fix it effectively. Don’t let a flat tire deflate your day; call us for roadside assistance!
Table of Contents
ToggleUnderstanding the Milky Oil Phenomenon
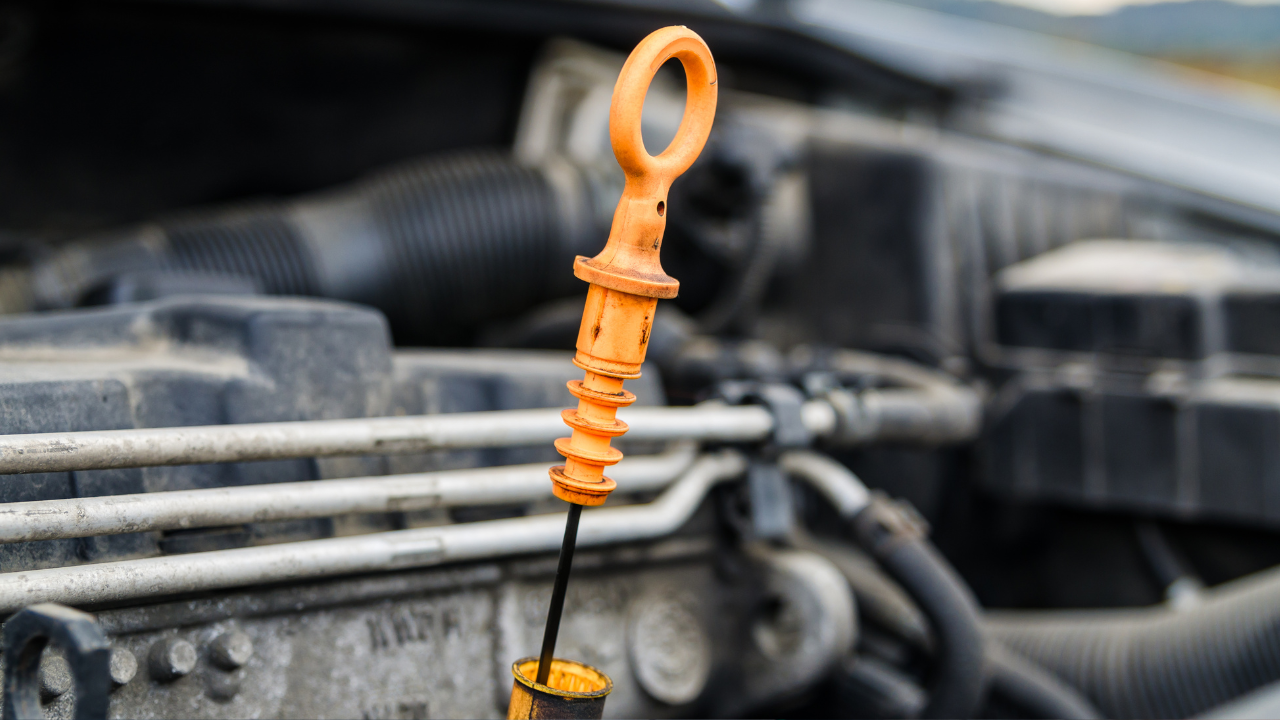
Before delving into the solutions, it’s essential to grasp why oil may appear milky on the dipstick. Typically, engine oil and coolant should remain separate within a vehicle’s system. However, when a breach occurs, such as a leaking head gasket, cracked engine block, or damaged cylinder head, coolant can infiltrate the oil passages, resulting in the formation of a milky emulsion. This mixture compromises the lubricating properties of the oil and can lead to premature engine wear and failure if left unaddressed.
Identifying Potential Causes
To effectively address the milky oil issue, it’s crucial to pinpoint the underlying cause. Several factors could contribute to coolant contamination in the engine oil, including:
- Leaking Head Gasket: A damaged or deteriorated head gasket can allow coolant to seep into the combustion chambers or oil passages, leading to the mixing of fluids.
- Cracked Engine Block: A crack in the engine block can provide a pathway for coolant to enter the oil system, resulting in oil contamination.
- Faulty Cylinder Head: Similarly, a cracked or warped cylinder head can compromise the integrity of the engine’s sealing surfaces, allowing coolant to leak into the oil.
- Condensation Buildup: In some cases, milky oil may be the result of condensation buildup within the crankcase, especially in vehicles subjected to frequent short trips or cold weather conditions.
By systematically assessing these potential causes, you can narrow down the source of the problem and take appropriate corrective measures to resolve it effectively.
Steps to Fix Milky Oil on Dipstick Issue

Once you’ve identified the likely cause of the milky oil problem, it’s time to take action to rectify the issue. Depending on the severity and underlying factors, the following steps can help address the problem:
- Conduct a Visual Inspection: Begin by visually inspecting the engine for signs of coolant leaks, such as puddles or stains beneath the vehicle. Additionally, check for white smoke emitting from the exhaust pipe, which could indicate coolant entering the combustion chambers.
- Perform a Compression Test: A compression test can help assess the condition of the engine’s cylinders and identify any issues with the head gasket or cylinder head. Low compression readings in one or more cylinders may indicate a leaking head gasket or other internal engine problems.
- Inspect the Cooling System: Check the radiator, hoses, and water pump for leaks or signs of damage. Pressure test the cooling system to identify any hidden leaks that may be contributing to coolant loss.
- Replace Faulty Components: If a leaking head gasket, cracked engine block, or damaged cylinder head is identified as the root cause of the milky oil issue, prompt replacement of the affected components is necessary. Be sure to use quality replacement parts and follow manufacturer specifications during the repair process.
- Flush the Engine Oil: After addressing the underlying cause of the coolant contamination, drain and flush the engine oil to remove any residual traces of coolant. Refill the engine with fresh oil of the recommended viscosity and quality.
- Monitor for Recurrence: Once repairs are completed and fresh oil is added, monitor the vehicle closely for any signs of coolant contamination in the oil. Keep an eye on the oil level and consistency during regular maintenance intervals to ensure that the issue has been fully resolved.
Conclusion
Discovering milky oil on the dipstick can be alarming, but with timely intervention and proper troubleshooting, you can rectify the issue and safeguard your vehicle’s engine health. By understanding the potential causes and following the steps outlined in this guide, you can effectively address coolant contamination and restore your engine’s performance and reliability. Remember to prioritize regular maintenance and address any signs of trouble promptly to prevent costly repairs down the road. Emergency? No problem. Our roadside assistance is here for you.
